A Visual Studio 2015 project and a Java application project are presented. The VS2015 project generates a DLL file that is called by the Java application via JNA in Windows 10, X64 environment. CUDA and CULA are involved.
This Java application is used in:
Denoising NMR time-domain signal by singular-value decomposition accelerated
by graphics processing units,
Pascal P. Man, Christian Bonhomme, and Florence Babonneau
Solid State Nucl. Magn. Reson. 61-62, 28-34 (2014).
Abstract
*** Outline ***
- CULA installation
- The svdComplexDevice1 DLL project in MS Visual Studio 2015
- Java environment installation
- The svdComplexDevice1X64 Java application project in Eclipse IDE
- Various references
CULA installation
Install CULA Dense R15
for Windows (Universal).
Its folder location is C:\Program Files\CULA\R15.
svdComplexDevice1 DLL project in MS Visual Studio 2015
- In Start Page - Microsoft Visual Studio, select New Project...
- Select Win32 Console Application.
Provid the name of the project: svdComplexDevice1.
Click OK button. - Welcome to the Win32 Application Wizard panel appears.
Click Next > button. - Application Settings panel appears. Tick DLL for Application type.
Click Finish button.
- The Visual Studio editor appears.
Select x64 platform.
Five files are generated: stdafx.h, targetver.h, stdafx.cpp, dllmain.cpp, and an empty file svdComplexDevice1.cpp.
- Open svdComplexDevice1.cpp.
Copy and paste its content into the source file svdComplexDevice1.cpp. - Right click the folder of Header Files in Solution Explorer
for adding a new item.
Select Add then New Item... - Select Header File(.h).
Provid the name of Header File(.h): svdComplexDevice1.h. The file extension is .h.Click Add button. An source file appears for editing.
- Open svdComplexDevice1.h.
Copy and paste its content into the source file svdComplexDevice1.h. - Right click the file svdComplexDevice1.cpp in Solution Explorer. Select Properties.
The Item Type is C/C++ compiler. Close the panel. - Right click the file svdComplexDevice1.h in Solution Explorer. Select Properties.
The Item Type is C/C++ header. Close the panel. - Right click the project svdComplexDevice1 in Solution Explorer. Select Properties, then VC++ Directories.
Add C:\Program Files\CULA\R15\bin64; in Executable Directories.
Add C:\Program Files\CULA\R15\include; in Include Directories.
Add C:\Program Files\NVIDIA GPU Computing Toolkit\CUDA\v8.0\include; in Include Directories.
Add C:\Program Files\CULA\R15\lib64; in Library Directories.
Add C:\Program Files\NVIDIA GPU Computing Toolkit\CUDA\v8.0\lib\x64; in Library Directories.
- Select Linker then Input.
Add cula_core.lib;
cula_lapack.lib;
cudart.lib; in Additional Dependencies.
Click the mouse for activing Appliquer button. Click Appliquer button then OK button.
- Select Build menu then Build Solution.
 The file svdComplexDevice1.dll is generated in the folder C:\Users\Papa\Documents\Visual Studio 2015\Projects\svdComplexDevice1\x64\Debug.
Java environment installation
- Install
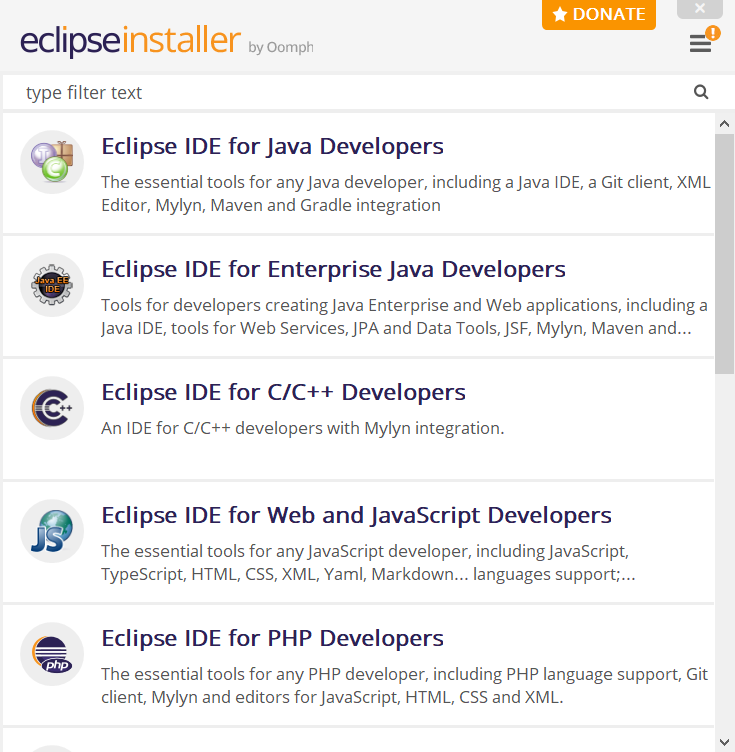
Eclipse IDE 2020-03 for 64-bit Windows with eclipse-inst-win64.exe.
Select Eclipse IDE for Java Developers.
- Install Oracle JDK1.8 for 64-bit Windows with jdk-8u241-windows-x64.exe.
- Download two Java Native Access executable files: jna-5.5.0.jar and jna-platform-5.5.0.jar.
- The four CULA DLL files, cula_lapack.dll, cula_core.dll, cublas64_42_6.dll, and cudart64_42_6.dll, are located at C:\Program Files\CULA\R15\bin64.
- My Java application folder location: C:\Users\Papa\eclipse-workspace.
svdComplexDevice1X64 Java application project in Eclipse IDE
- Open Eclipse IDE 2020-03.

- Select Window menu then Preferences.
Click Java then Installed JREs.
Click Add button. Select Standard VM then click Next > button.
Click Directory.. button. Select JRE folder or JDK folder. Click Finish button.
Tick jdk1.8.0_241 (default).
Click Apply button.
- Click Compiler.
Choose 1.8 for Compiler compliance level.
Click Apply and Close button.
These settings will be effective for new projects. - Select Create a Java project in Eclipse IDE.
Provid the project name: svdComplexDevice1X64.
Click Finish button.
- The project folder appears in Package Explorer.

- The file .classpath in the project folder located at
C:\Users\Papa\eclipse-workspace\svdComplexDevice1X64
is filled.

- Open the project folder.
Transfer seven files into the project folder: svdComplexDevice1.dll, cula_lapack.dll, cula_core.dll, cudart64_42_6.dll, cublas64_42_6.dll, jna-platform-5.5.jar, and jna-5.5.0.jar.

- Right click the project name in Project Explorer then select Refresh.
The seven files appear in Package Explorer.
- Right click the source folder src in Project Explorer.
Select New then Package. Provid the package name: nmrsvd.
Click Finish button.
- Right click the package folder nmrsvd in Project Explorer.
Select New then class. Provid the class name: fidsvd.
Click Finish button.
- Similarly, generate four Java classes: Frame1, Graph, ListGentle, and SVDMVCModelGPU.

- Copy and paste fidsvd.java, Frame1.java, Graph.java, ListGentle.java, and SVDMVCModelGPU.java into the five newly generated java files, respectively.
- Right click the project folder svdComplexDevice1X64 in Project Explorer.
Select Properties, Java Build Path, Library.

- Click Add JARs... button.
Click the project folder in JAR Selection panel.
Select the two jar files.
Click OK button.
- Click Apply and Close button.

- A new folder, Referenced Libraries containing the two jna files, is added to the project in Package Explorer.

- The file .classpath in the project folder located at
C:\Users\Papa\eclipse-workspace\svdComplexDevice1X64
is filled.
Two lines concerning with jna files are added.

- Select Run menu then Run Configuration...
Click Java Application then fidsvd.
Click Run button.
- The Java application panel appears.

Various references
- Creating a jar File in Eclipse
- Creating an executable Jar file
- Tutoriel pour exécuter du code natif en Java : JNI VS JNA
- YouTube: How to setup Eclipse for C/C++ developers in Windows 8.1
- How to install Eclipse CDT 8.2 and get started
- Eclipse CDT (C/C++ Development Tooling)
- Add .dll to java.library.path in Eclipse/PyDev Jython projec
- How to configure eclipse to use JNA
- Tutoriel pour exécuter du code natif à partir de Java avec JNA, en 5 minutes
- How to change Eclipse Java version for compiler and JRE
- How to change Java Version in an Eclipse project
- Tout savoir sur Eclipse
- Installing the code for development and compilation
- Eclipse managed build
- [Learning] CUDA C/C++ (Part 1) - Visual Studio project setup (Visual Studio 2017 15.5 version) from Win32 empty project
- CULA programmer’s guide, release R15 (CUDA 4.2) (PDF file)
- CULA reference manual, release R15 (CUDA 4.2) (PDF file)
- CUDA C++ programming guide (PDF file)
- CUDA quick start guide (PDF file)
- CUDA sample (PDF file)
- Learning CUDA (PDF file) from FREE eBook created from Stack Overflow contributors